Practical resources
How-to guides, videos, protocols and more.
Working with us
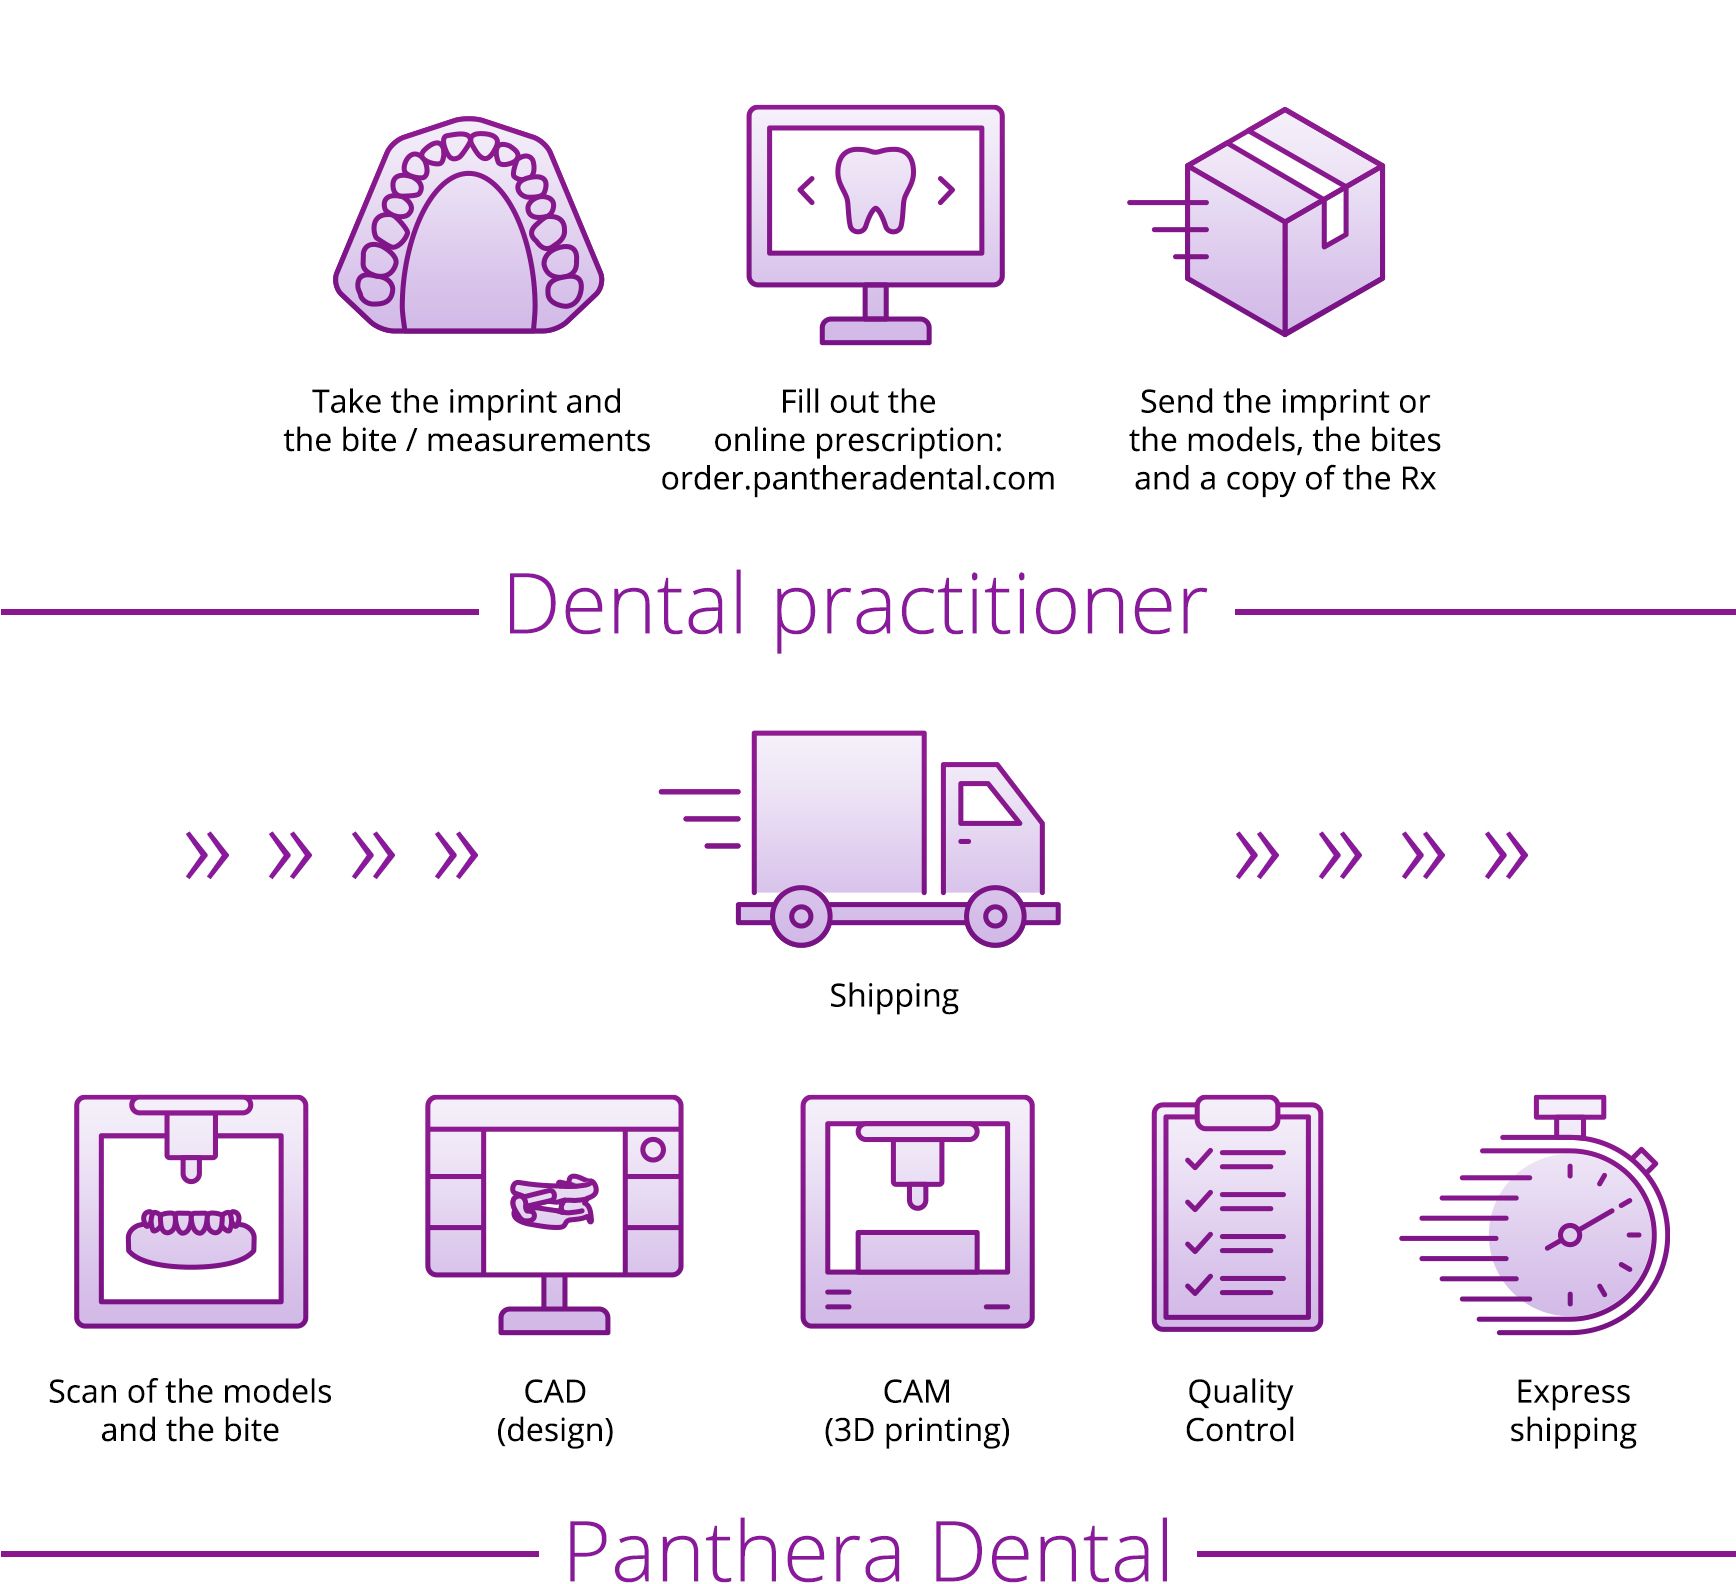
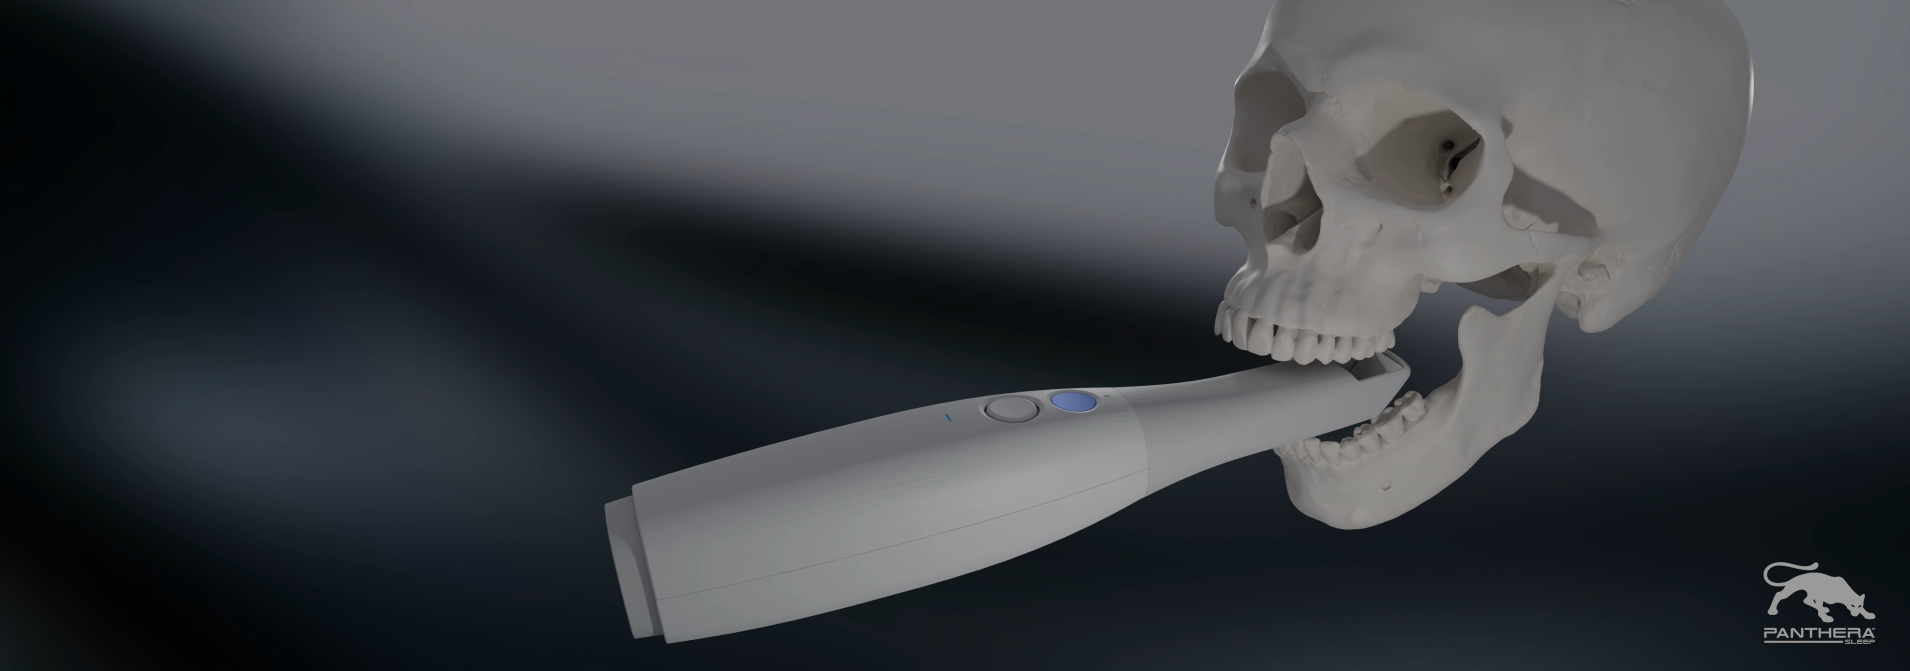
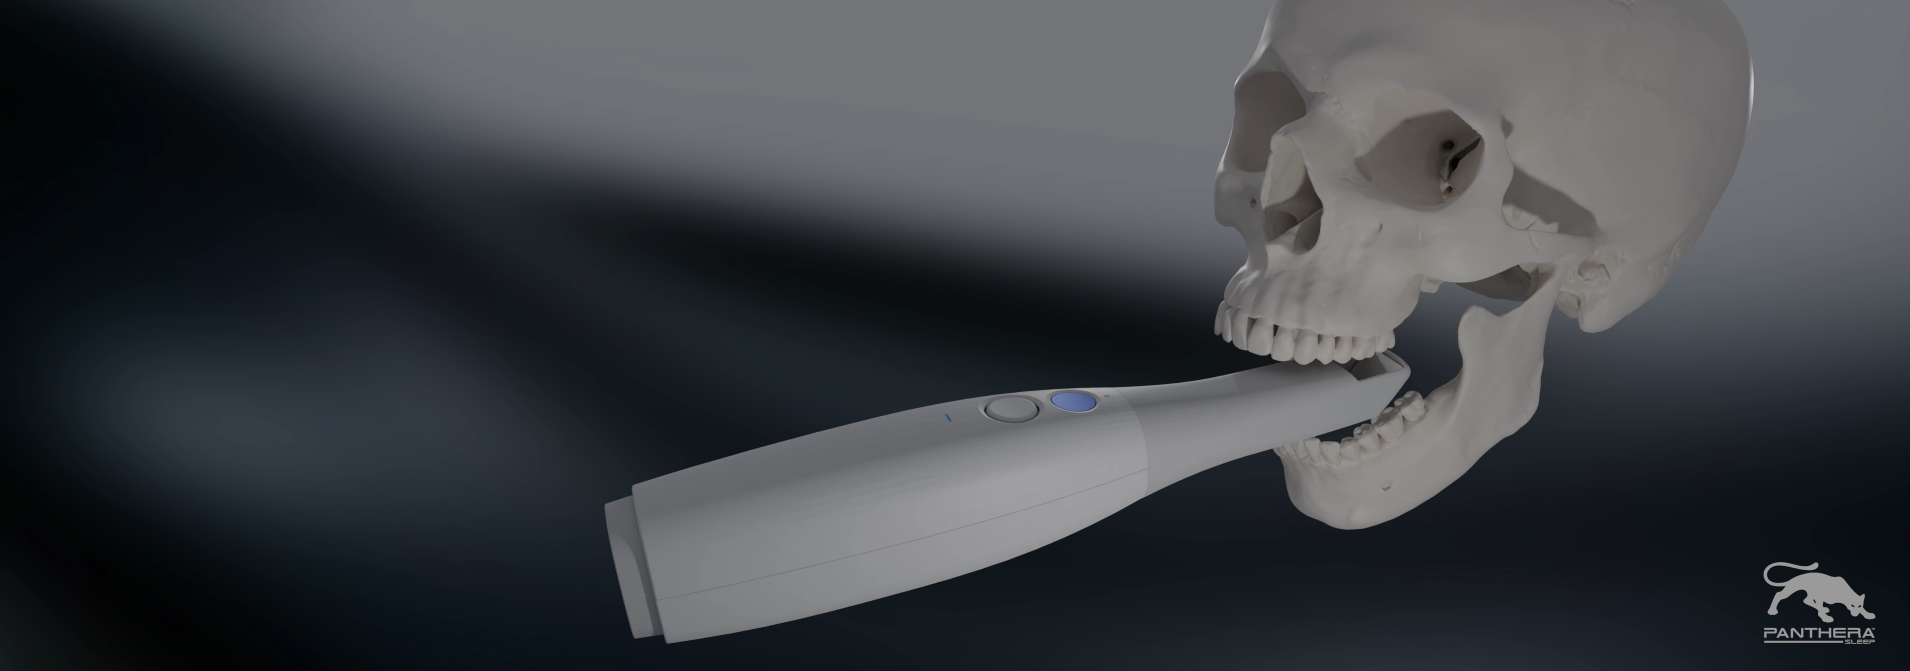
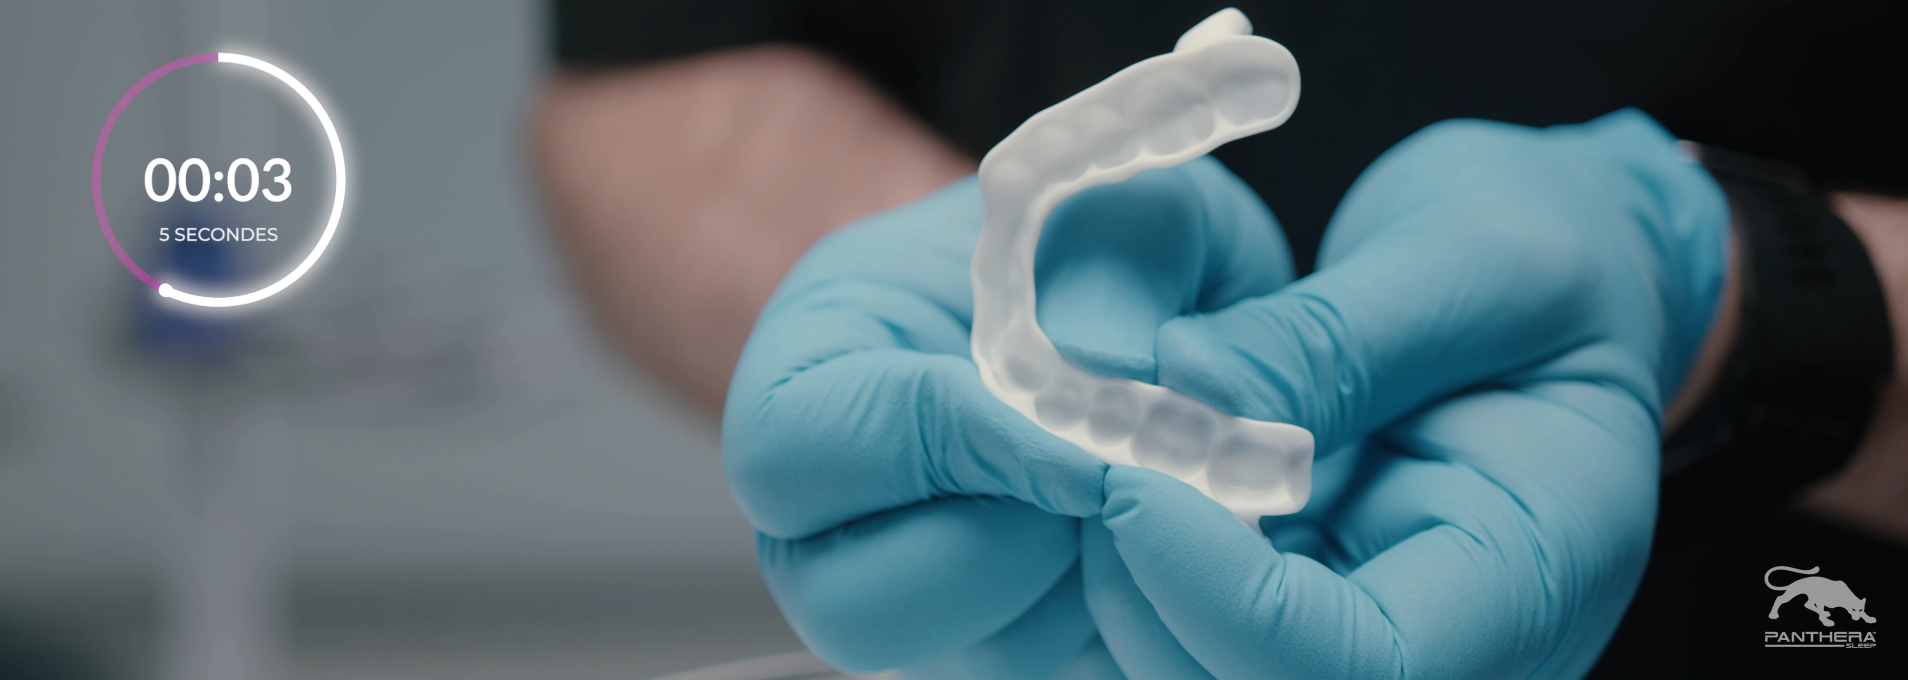
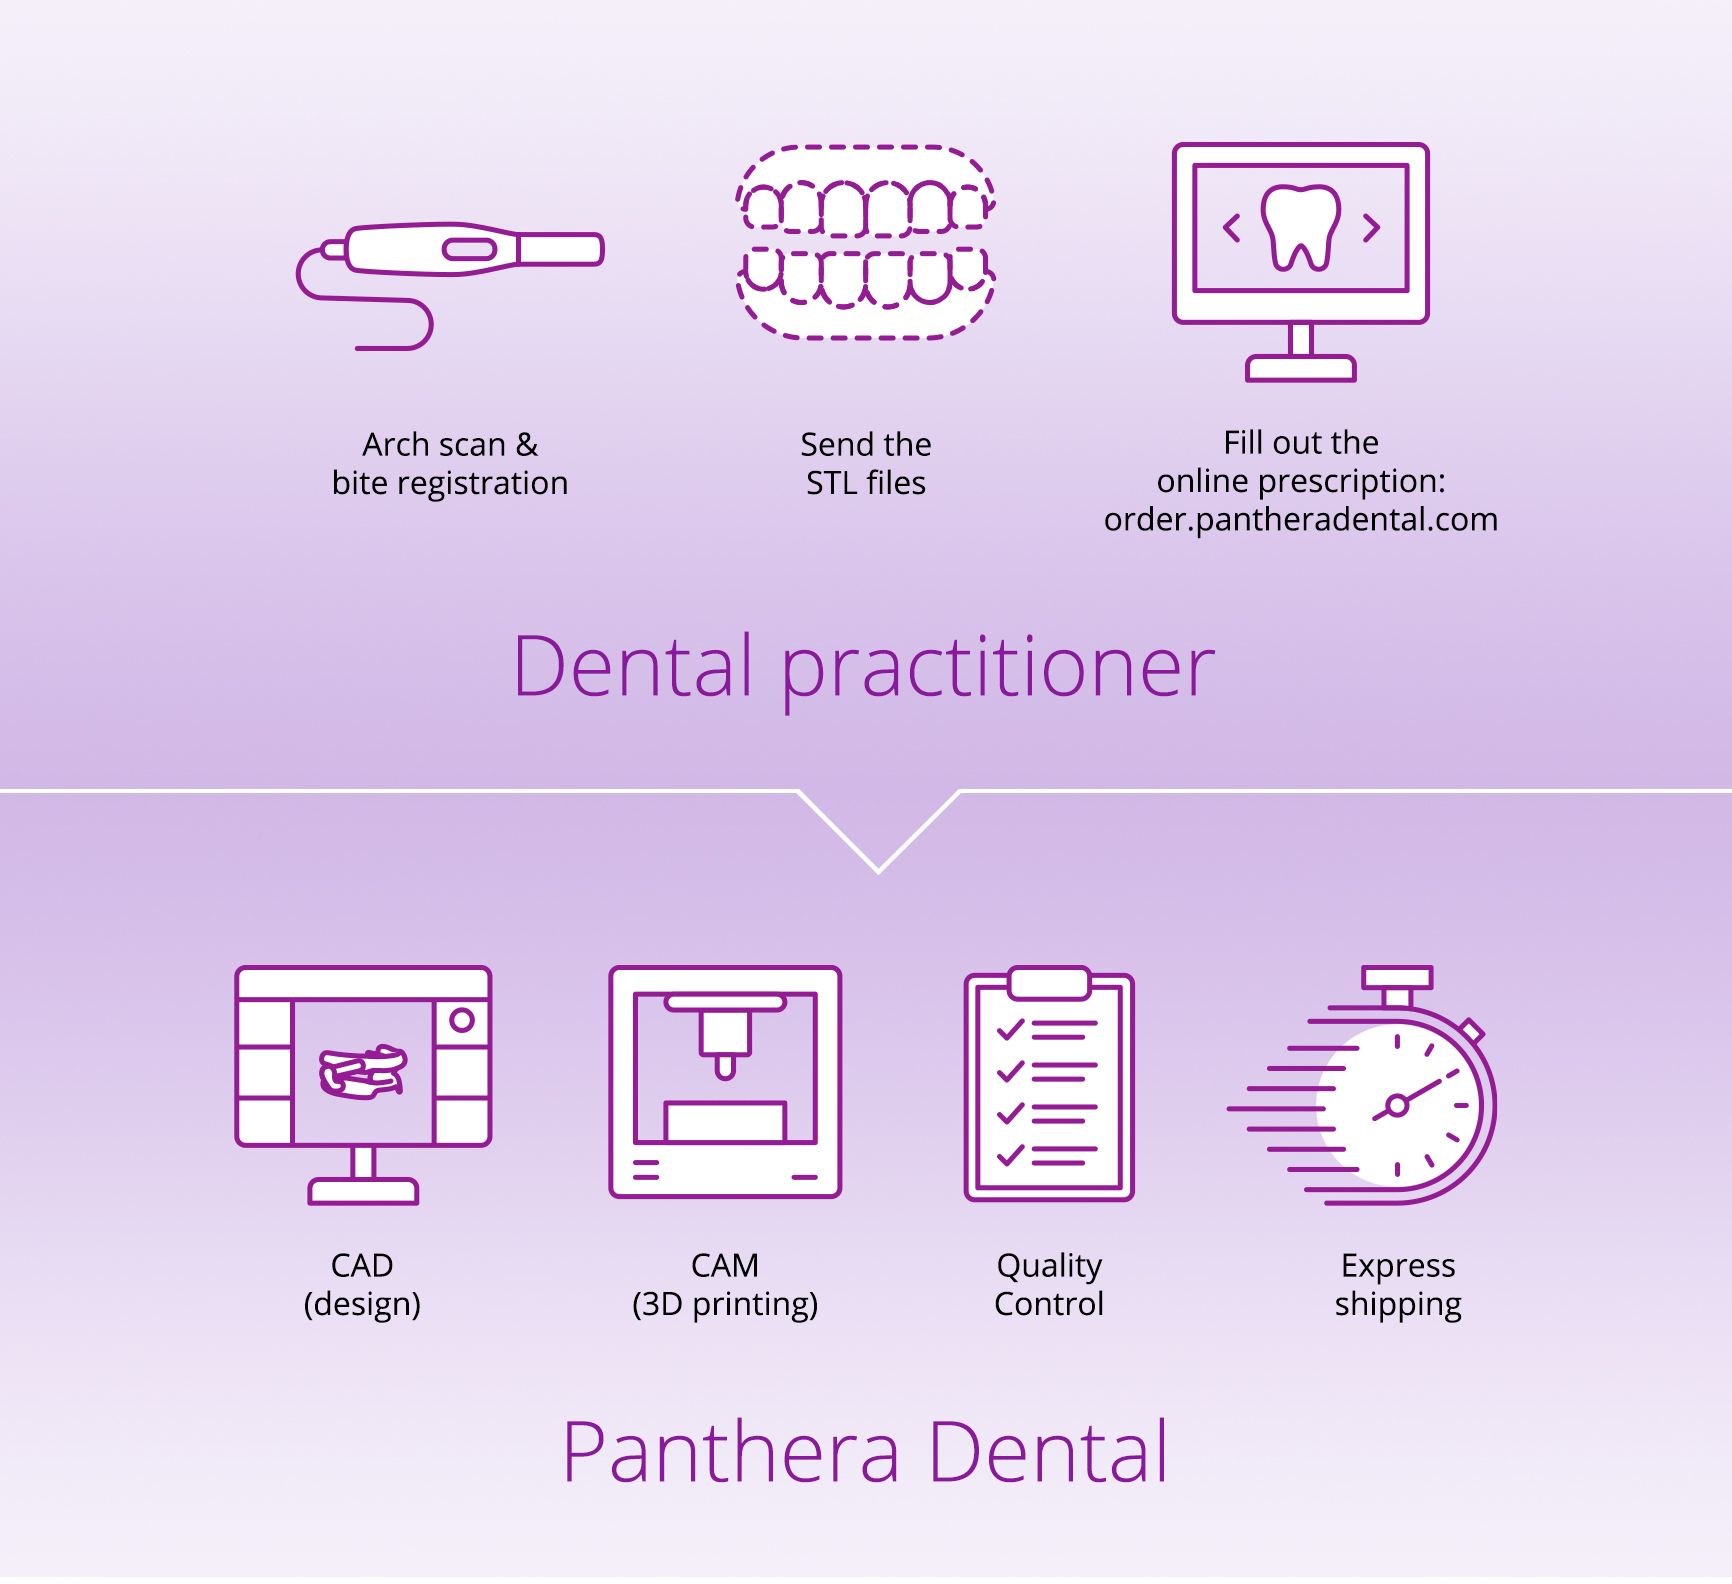
Panthera oral appliances are made from 3D scans of physical models or from intra-oral scans.
The Panthera system is compatible with the latest intra-oral scanning technologies from:
 |
|
 |
 |
|
|---|
How-to Videos
Step by Step Guides
George Gauge Procedure
A PDF guide to taking a patient’s bite registration using a George Gauge.
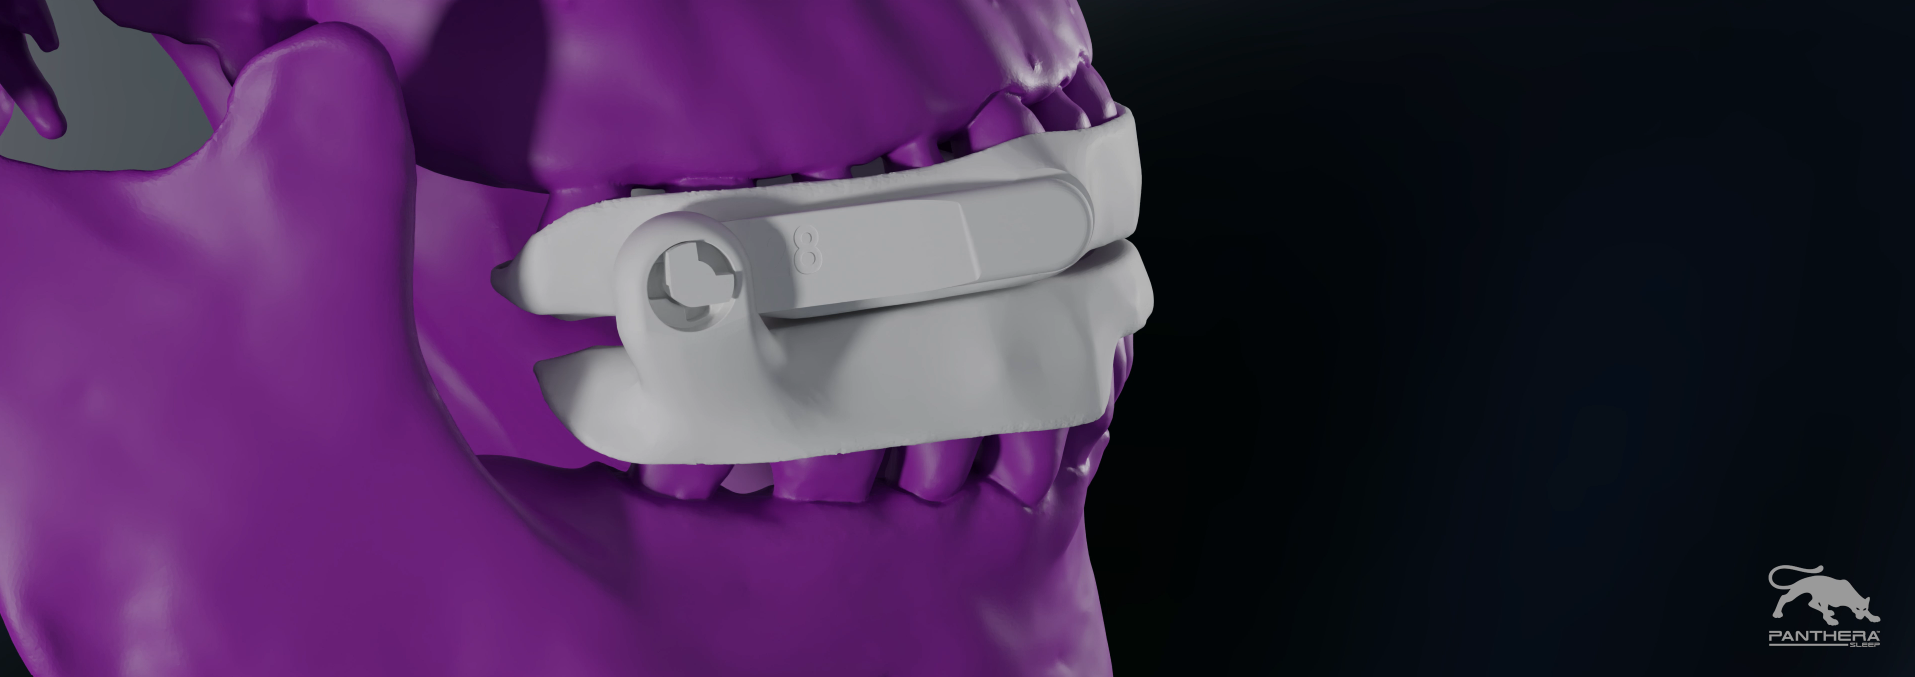
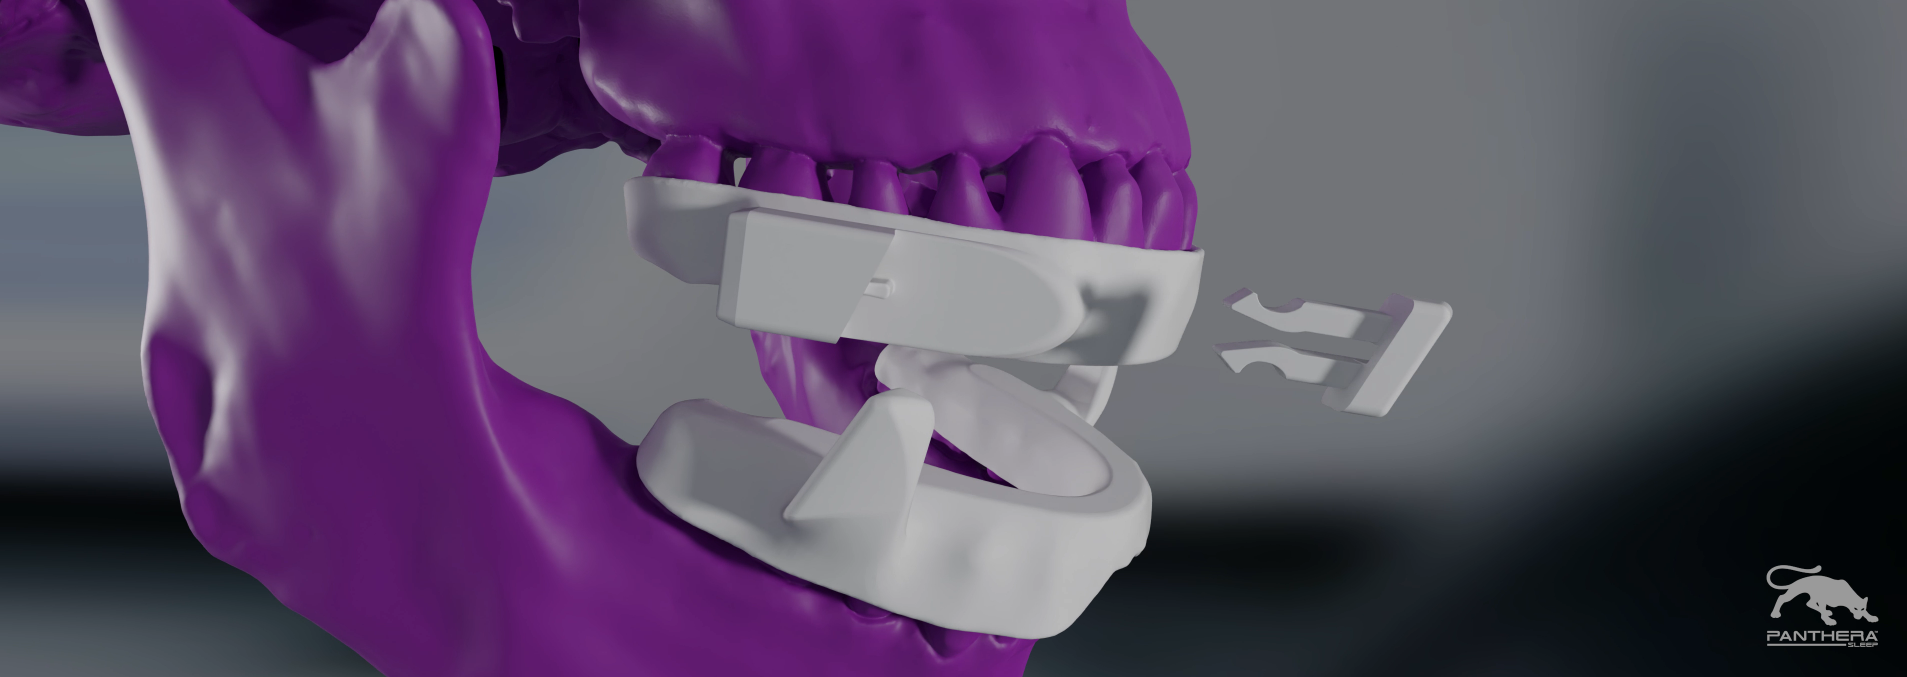
D-SAD Classic rods replacement guide
A PDF guide that explains how to change the D-SAD Classic Rods to titrate the device.
How to send STL files
The Panthera system is compatible with the latest intra-oral scanning technologies from:


Register on www.customer.connectcasecenter.com or log in to your account.
Under “My connect case centre.”
– Partner
– My favourite recipients
- Click “Search direct.”
- Make sure to use the “Clear Field” button, to clear any previous data.
- Type “Panthera” in the “Name of Contractor” field.
- Click “Start search.”
- Once the search is done, you will find Panthera Dental located in Quebec City.
- Click the “+” sign to add Panthera as a manufacturing partner and confirm the addition.
- Scan your patient’s mouth and send the scans/files using the Dentsply’s sending system (Inbox) to the manufacturer (Panthera).
It is important to use the same practice name/doctor’s name on both the scanner and www.pantheradental.com (in order to link it to the Rx). - Log in to your profile on www.pantheradental.com.
- Create your online Rx.
It is important to use the same patient identification as on the scanner (in order to make the link with the STL files). - Make sure to select the intra oral inbox option in the provided material section.
- Once you have clicked checkout, your order will be officially placed. The system will then prompt you to upload the files. This is automatic. Since you have sent your files through an inbox portal, skip this step and go back to your dashboard or close the page.
- We will get an automatic message stating that an order has been placed and we will match it with the files.
- Log in to your account on the Medit portal.
- Send a connection request to [email protected].
- Once the connection is accepted, scan your patient’s mouth and send the scans/files using the Medit’s sending system (Inbox) to the manufacturer (Panthera).
It is important to use the same practice name/doctor’s name both on the scanner and www.pantheradental.com (in order to link it to the Rx). - Log in to your profile on www.pantheradental.com.
- Create your online Rx.
It is important to use the same patient identification as on the scanner (in order to make the link with the STL files). - Make sure to select the Intra oral inbox option in the provided material section.
- Once you have clicked checkout, your order will be officially placed. The system will then prompt you to upload the files. This is automatic. Since you have sent your files through an inbox portal, skip this step and go back to your dashboard or close the page.
- We will get an automatic message stating that an order has been placed and we will match it with the files.
- Log in to your account on the 3shape communicate portal:
www.portal.3shapecommunicate.com - Under the “Connections” tab, click “Add Connections.”
- Browse to the following email: [email protected] to add Panthera Dental as a lab.
- Once the Panthera’s information is displayed, click “Connect.”
- We will be automatically notified of any incoming request and we will accept the connection request.
- Once the connection is accepted, scan your patient’s mouth and send the scans/files using the 3shape’s sending system (Inbox) to the manufacturer (Panthera).
• It is important to use the same practice name or doctor’s name on both the scanner and www.pantheradental.com (in order to link it to the Rx). - Log in to your profile on www.pantheradental.com
- Create your online Rx.
• It is important to use the same patient identification as on the scanner (in order to make the link with the STL files). - Make sure to select the Intra oral inbox option in the provided material section.
- Once you have clicked checkout, your order will be officially placed. The system will then prompt you to upload the files. This is automatic. Since you have sent your files through an inbox portal, skip this step and go back to your dashboard or close the page.
- We will get an automatic message stating that an order has been placed and we will match it with the files.
Please make sure that in the “Settings” section of your 3Shape software, under “Other Account Settings” that the ”Enable Cross-Regional Connections” is activated.
- Communicate with the iTero customer service and ask them to add customer 19218 as a manufacturer on your scanner. (The iTero customer service numbers can be found here: www.itero.com/education-and-support/contact-us.)
- Log in to your account on the iTero portal.
- Scan your patient’s mouth and send the scans/files using the Itero’s sending system (Inbox) to the manufacturer (Panthera).
It is important to use the same practice name/doctor’s name both on the scanner and www.pantheradental.com (in order to link it to the Rx). - Log in to your profile on www.pantheradental.com.
- Create your online Rx.
It is important to use the same patient identification as on the scanner (in order to make the link with the STL files). - Make sure to select the Intra oral inbox option in the provided material section.
- Once you have clicked checkout, your order will be officially placed. The system will then prompt you to upload the files. This is automatic. Since you have sent your files through an inbox portal, skip this step and go back to your dashboard or close the page.
- We will get an automatic message stating that an order has been placed and we will match it with the files.
- Log in to your account on the CS connect portal.
- Send a connection request to [email protected].
- Once the connection is accepted, scan your patient’s mouth and send the scans/files using the Carestream’s sending system (Inbox) to the manufacturer (Panthera).
It is important to use the same practice name/doctor’s name both on the scanner and on www.pantheradental.com (in order to link it to the Rx). - Log in to your profile on www.pantheradental.com.
- Create your online Rx.
It is important to use the same patient identification as on the scanner (in order to make the link with the STL files). - Make sure to select the Intra oral inbox option in the provided material section.
- Once you have clicked checkout, your order will be officially placed. The system will then prompt you to upload the files. This is automatic. Since you have sent your files through an inbox portal, skip this step and go back to your dashboard or close the page.
- We will get an automatic message stating that an order has been placed and we will match it with the files.
- For all other scanners, you will need to scan your patient’s mouth and extract your files in STL format.
We cannot convert any files. Therefore, if your files are accidentally sent in a different format, you will need to extract your files again in STL. - Log in to your profile on www.pantheradental.com.
- Create your online Rx.
- Make sure to select the Upload STL files option in the provided material section.
- Once you have clicked checkout, your order will be officially placed. The system will then prompt you to upload the files.
- Simply drag and drop your files in the appropriate box.
- Click “Send to production.”
- We will get an automatic message stating that an order has been placed and we will match it with the files.
When sending new files for an active case, do not create a new Rx on www.pantheradental.com as this might cause either production delays or confusion resulting in milling a duplicate order.
Use one of the following options:
Email
Make sure your files are in STL format.
In the subject or body of your email, please indicate the ID number of your Panthera Dental Rx order so we can match the files with the proper case.
You can retrieve this order number by logging into your profile and accessing your dashboard.
WeTransfer
- Go to www.wetransfer.com
- Select the free option.
- Enter your email address.
- Drag and drop your files.
- Enter the following message: ‘’Panthera Dental Rx order ID#“.
- Send to [email protected].
- Once sent, you will get an automated email stating that the files have been correctly sent.
- Once we have downloaded them, you will again get an automated email saying that they have been downloaded.
Dropbox
Grant access and send the files to [email protected].
Google Docs
Due to security measures, we will not be able to work with any files/documents sent through Google Docs.
Recommended Reading
Prescriptions and Protocols
Read and download our paper prescriptions and protocols.
Peace of Mind Guaranteed
The 360 Warranty offers a 3-year warranty and a device replacement free of charge, no questions asked for the first 60 days.
Discover warranty details


